Convinced by Onyxia? Let's see how you can get your own instance today!
{
  "attributes": [
    {
      "name": "username",
      "displayName": "${username}",
      "validations": {
        "length": {
          "min": 3,
          "max": 255
        },
+       "pattern": {
+         "error-message": "${lowerCaseAlphanumericalCharsOnly}",
+         "pattern": "^[a-z0-9]*$"
+       },
        "username-prohibited-characters": {}
      }
    },
    {
      "name": "email",
      "displayName": "${email}",
      "validations": {
        "email": {},
+       "pattern": {
+         "pattern": "^[^@]+@([^.]+\\.)*((gmail\\.com)|(hotmail\\.com))$"
+       },
        "length": {
          "max": 255
        }
      }
    },
...git clone https://github.com/<your-github-org>/onyxia-ops
cd onyxia-ops
cd apps/onyxia
mv values-keycloak-enabled.yaml values.yaml
git commit -am "Enable keycloak"
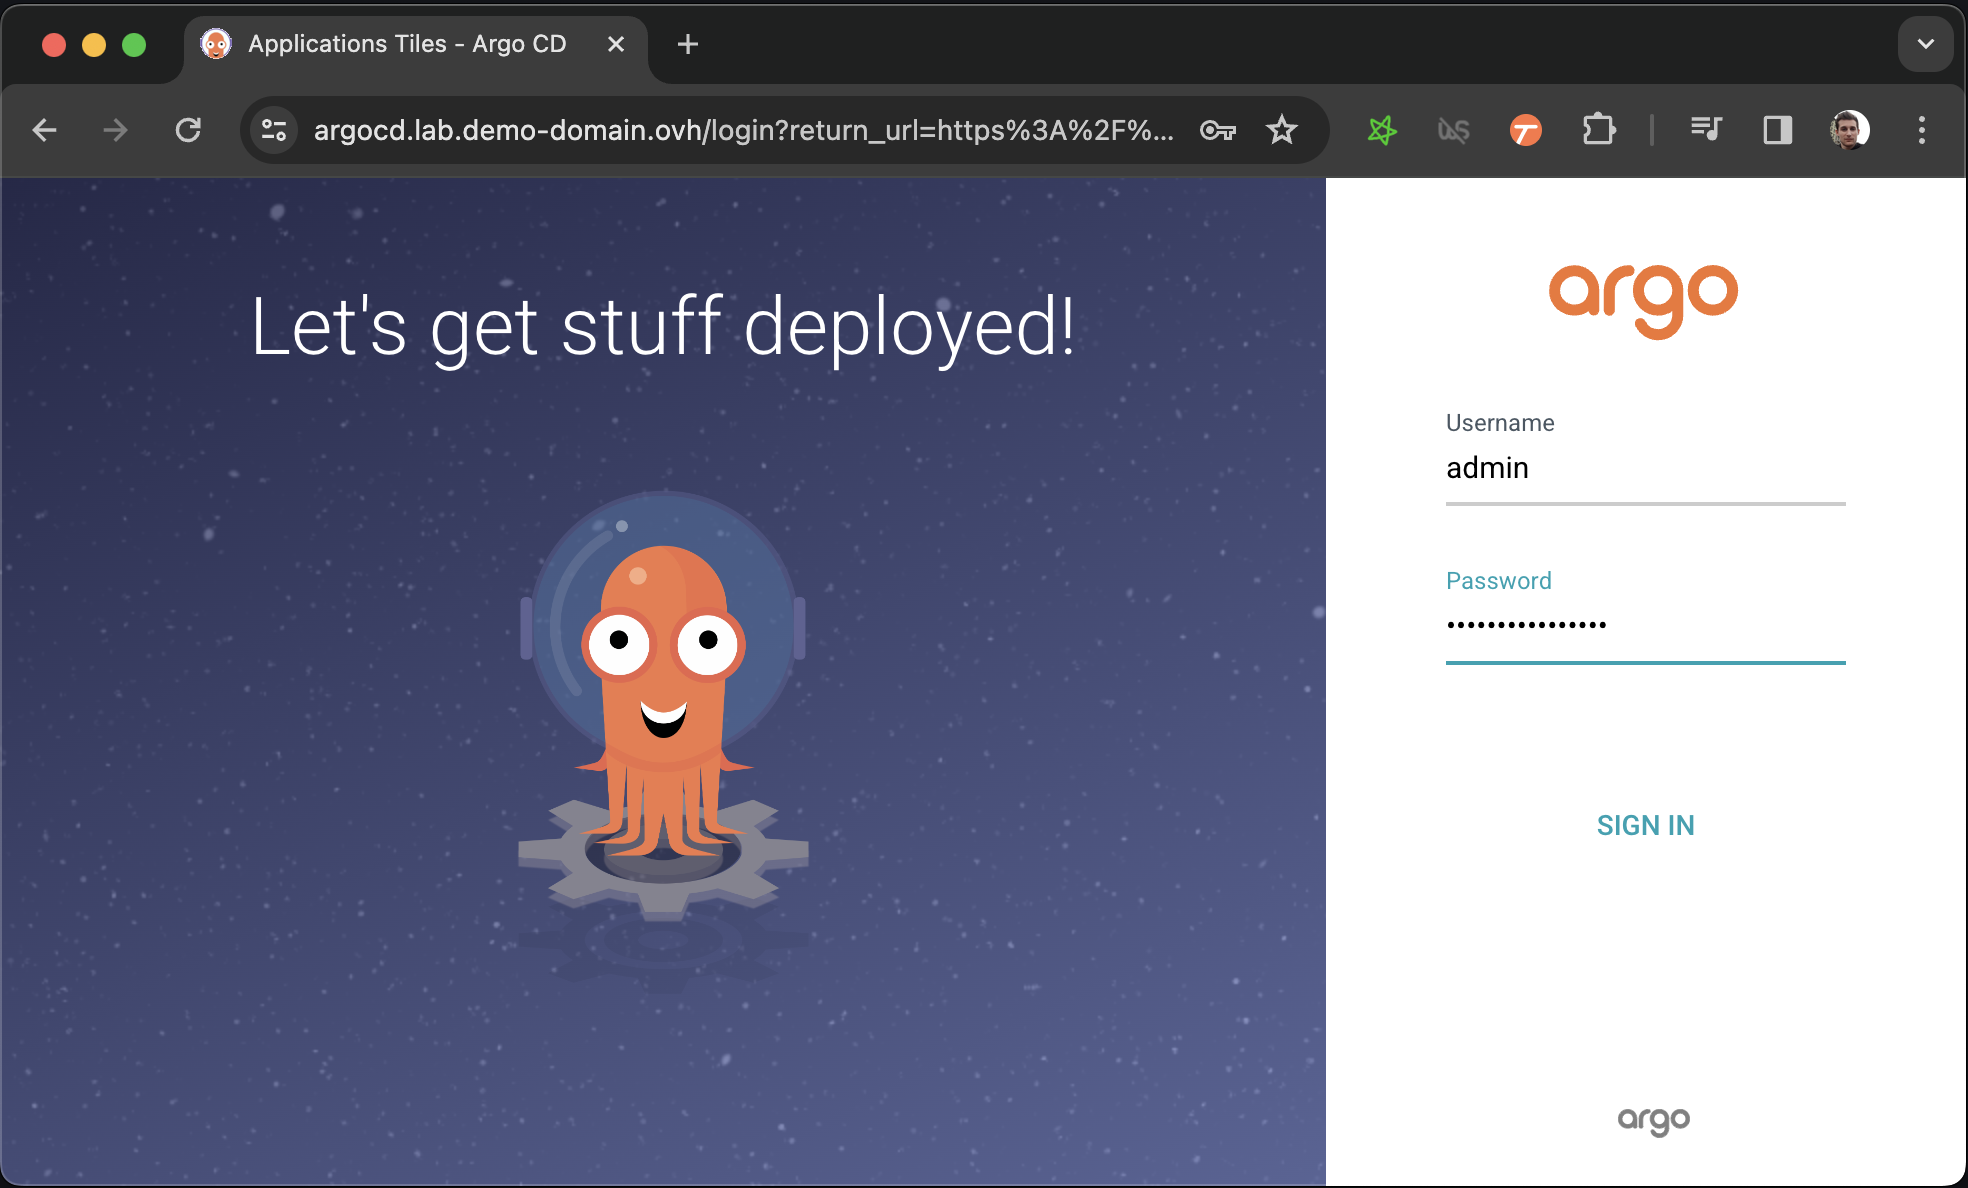
git pushLet's install ArgoCD to manage and monitor our Onyxia Datalab deployment!
Let's use hashicorp Vault for storing the user secrets.
helm repo add hashicorp https://helm.releases.hashicorp.com

DOMAIN=my-domain.net

cat << EOF > ./vault-values.yaml
server:
  dev:
    enabled: true
    # Set VAULT_DEV_ROOT_TOKEN_ID value
    devRootToken: "root"
  ingress:
    enabled: true
    annotations:
      kubernetes.io/ingress.class: nginx
    hosts:
      - host: "vault.lab.$DOMAIN"
    tls:
      - hosts:
          - vault.lab.$DOMAIN
EOF

helm install vault hashicorp/vault -f vault-values.yamlDOMAIN=my-domain.net
cat << EOF > ./argocd-values.yaml
server:
extraArgs:
- --insecure
ingress:
#ingressClassName: nginx
enabled: true
hostname: argocd.lab.$DOMAIN
extraTls:
- hosts:
- argocd.lab.$DOMAIN
EOF
helm install argocd argo-cd \
--repo https://argoproj.github.io/argo-helm \
--version 6.0.9 \
-f ./argocd-values.yamlkubectl get secret argocd-initial-admin-secret \
-o jsonpath="{.data.password}" | base64 -d onyxia:
ingress:
enabled: true
hosts:
- host: datalab.demo-domain.ovh
web:
env:
+ GLOBAL_ALERT: |
+ {
+ severity: "success",
+ message: {
+ en: "A **big** announcement! [Check it out](https://example.com)!",
+ fr: "Une annonce **importante**! [Regardez](https://example.com)!"
+ }
+ }
api:
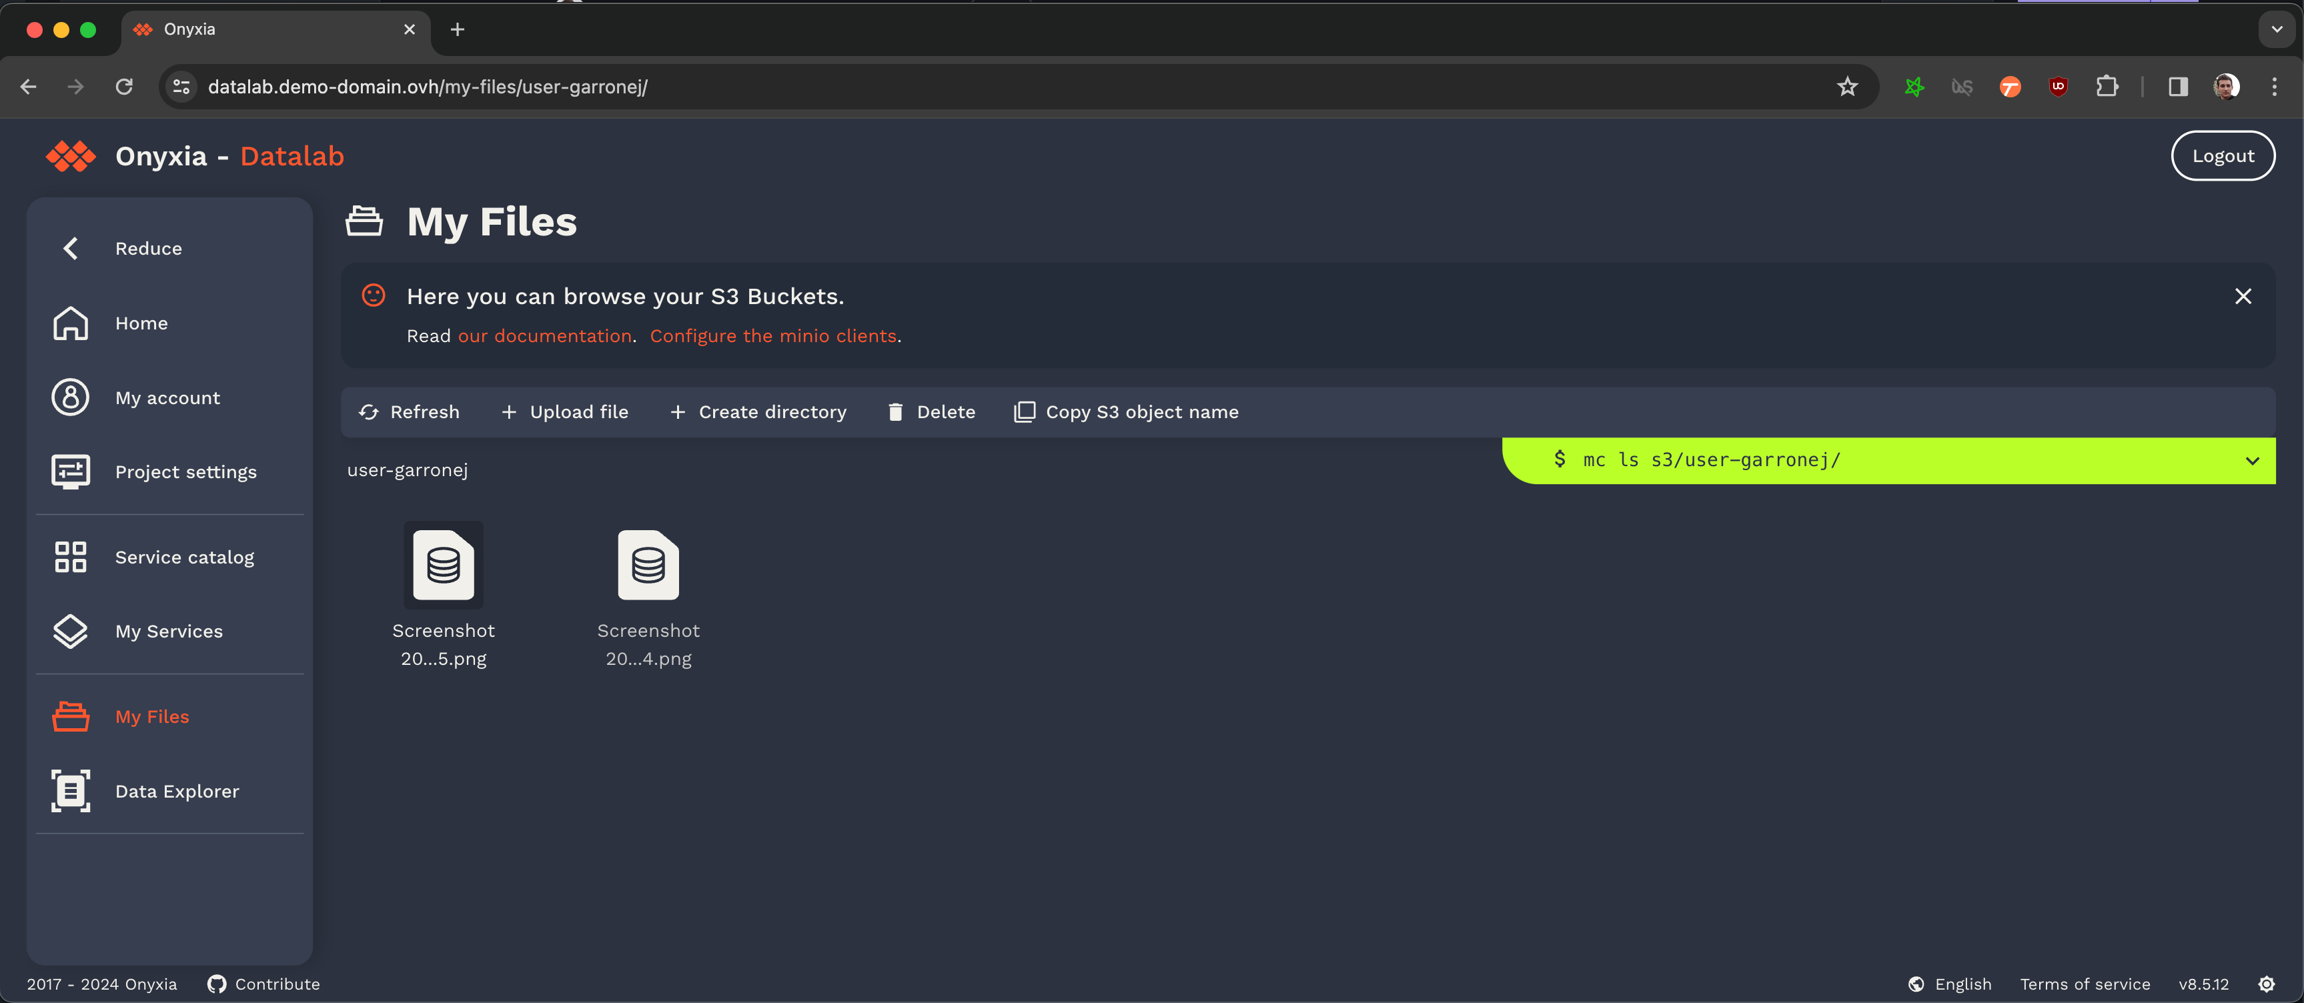
regions: [...]git clone https://github.com/<your-github-org>/onyxia-ops
cd onyxia-ops
cd apps/minio
# In the values.yaml file replace `$KEYCLOAK_MINIO_CLIENT_SECRET` by the value
# you have copied in the previous step.
git commit -am "Set minio OIDC client secret"
git pushgit clone https://github.com/<your-github-org>/onyxia-ops
cd onyxia-ops
cd apps/onyxia
mv values-minio-enabled.yaml.yaml values.yaml
git commit -am "Enable MinIO"
git pushProvision a Kubernetes cluster
datalab.my-domain.net CNAME jhon-doe-home.ddns.net.
*.lab.my-domain.net CNAME jhon-doe-home.ddnc.net.kubectl apply -f https://raw.githubusercontent.com/kubernetes/ingress-nginx/controller-v1.2.0/deploy/static/provider/aws/deploy.yamlkubectl get services -n ingress-nginxdatalab.my-domain.net CNAME xxx.elb.eu-west-1.amazonaws.com.
*.lab.my-domain.net CNAME xxx.elb.eu-west-1.amazonaws.com. brew install certbot #On Mac, lookup how to install certbot for your OS
#Because we need a wildcard certificate we have to complete the DNS callange.
sudo certbot certonly --manual --preferred-challenges dns
# When asked for the domains you wish to optains a certificate for enter:
# datalab.my-domain.net *.lab.my-domain.netDOMAIN=my-domain.net
sudo kubectl create secret tls onyxia-tls \
-n ingress-nginx \
--key /etc/letsencrypt/live/datalab.$DOMAIN/privkey.pem \
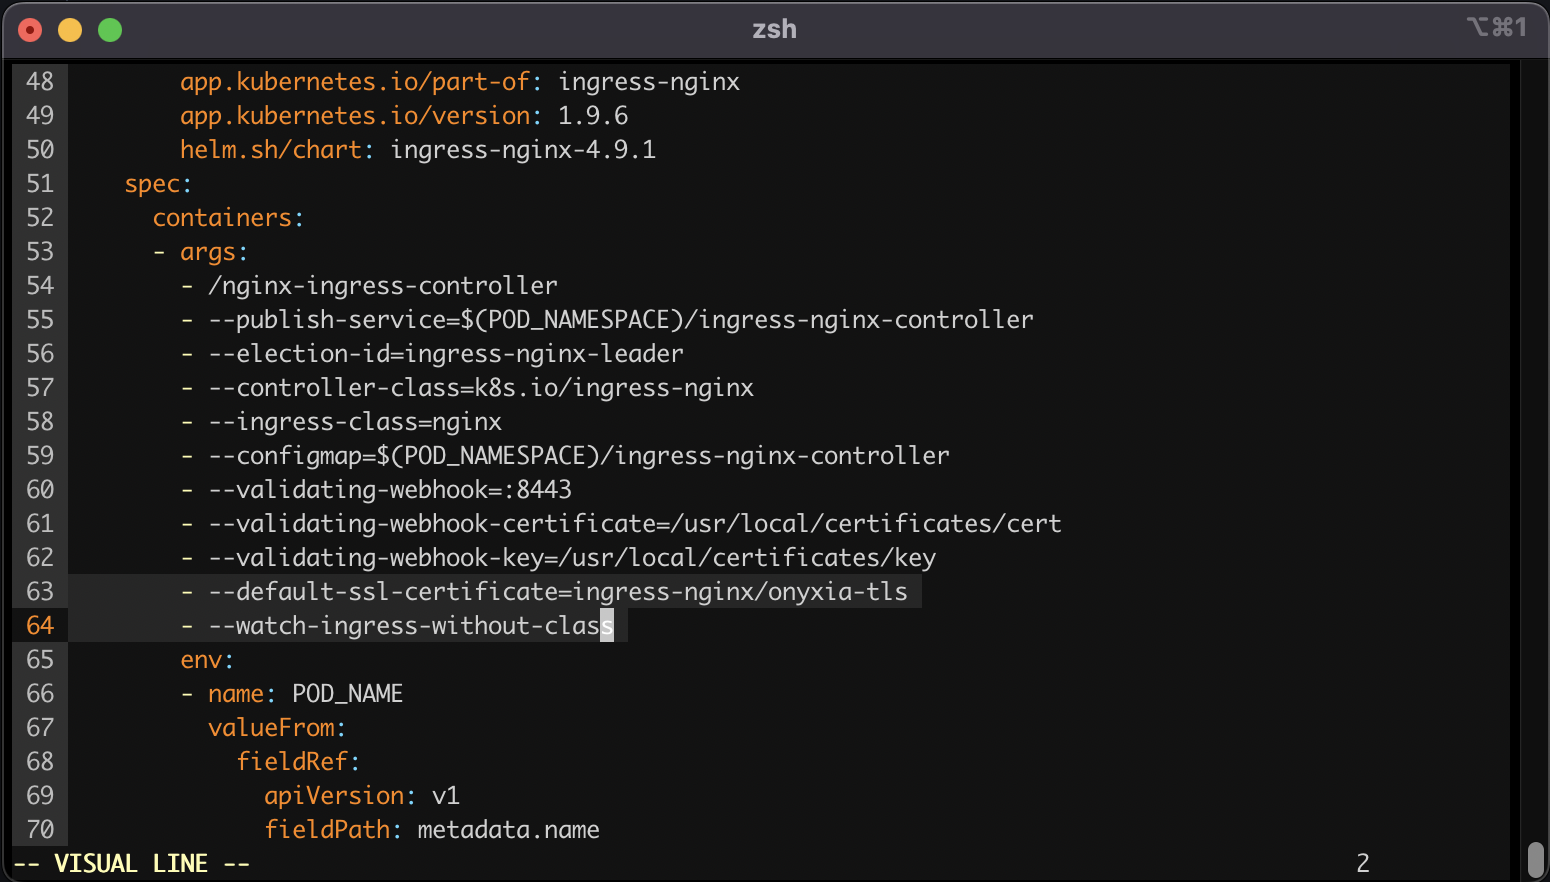
--cert /etc/letsencrypt/live/datalab.$DOMAIN/fullchain.pemkubectl edit deployment ingress-nginx-controller -n ingress-nginx - --default-ssl-certificate=ingress-nginx/onyxia-tls
- --watch-ingress-without-classdatalab.my-domain.net A <YOUR_IP>
*.lab.my-domain.net A <YOUR_IP>brew install certbot #On Mac, lookup how to install certbot for your OS
# Because we need a wildcard certificate we have to complete the DNS callange.
sudo certbot certonly --manual --preferred-challenges dns
# When asked for the domains you wish to optains a certificate for enter:
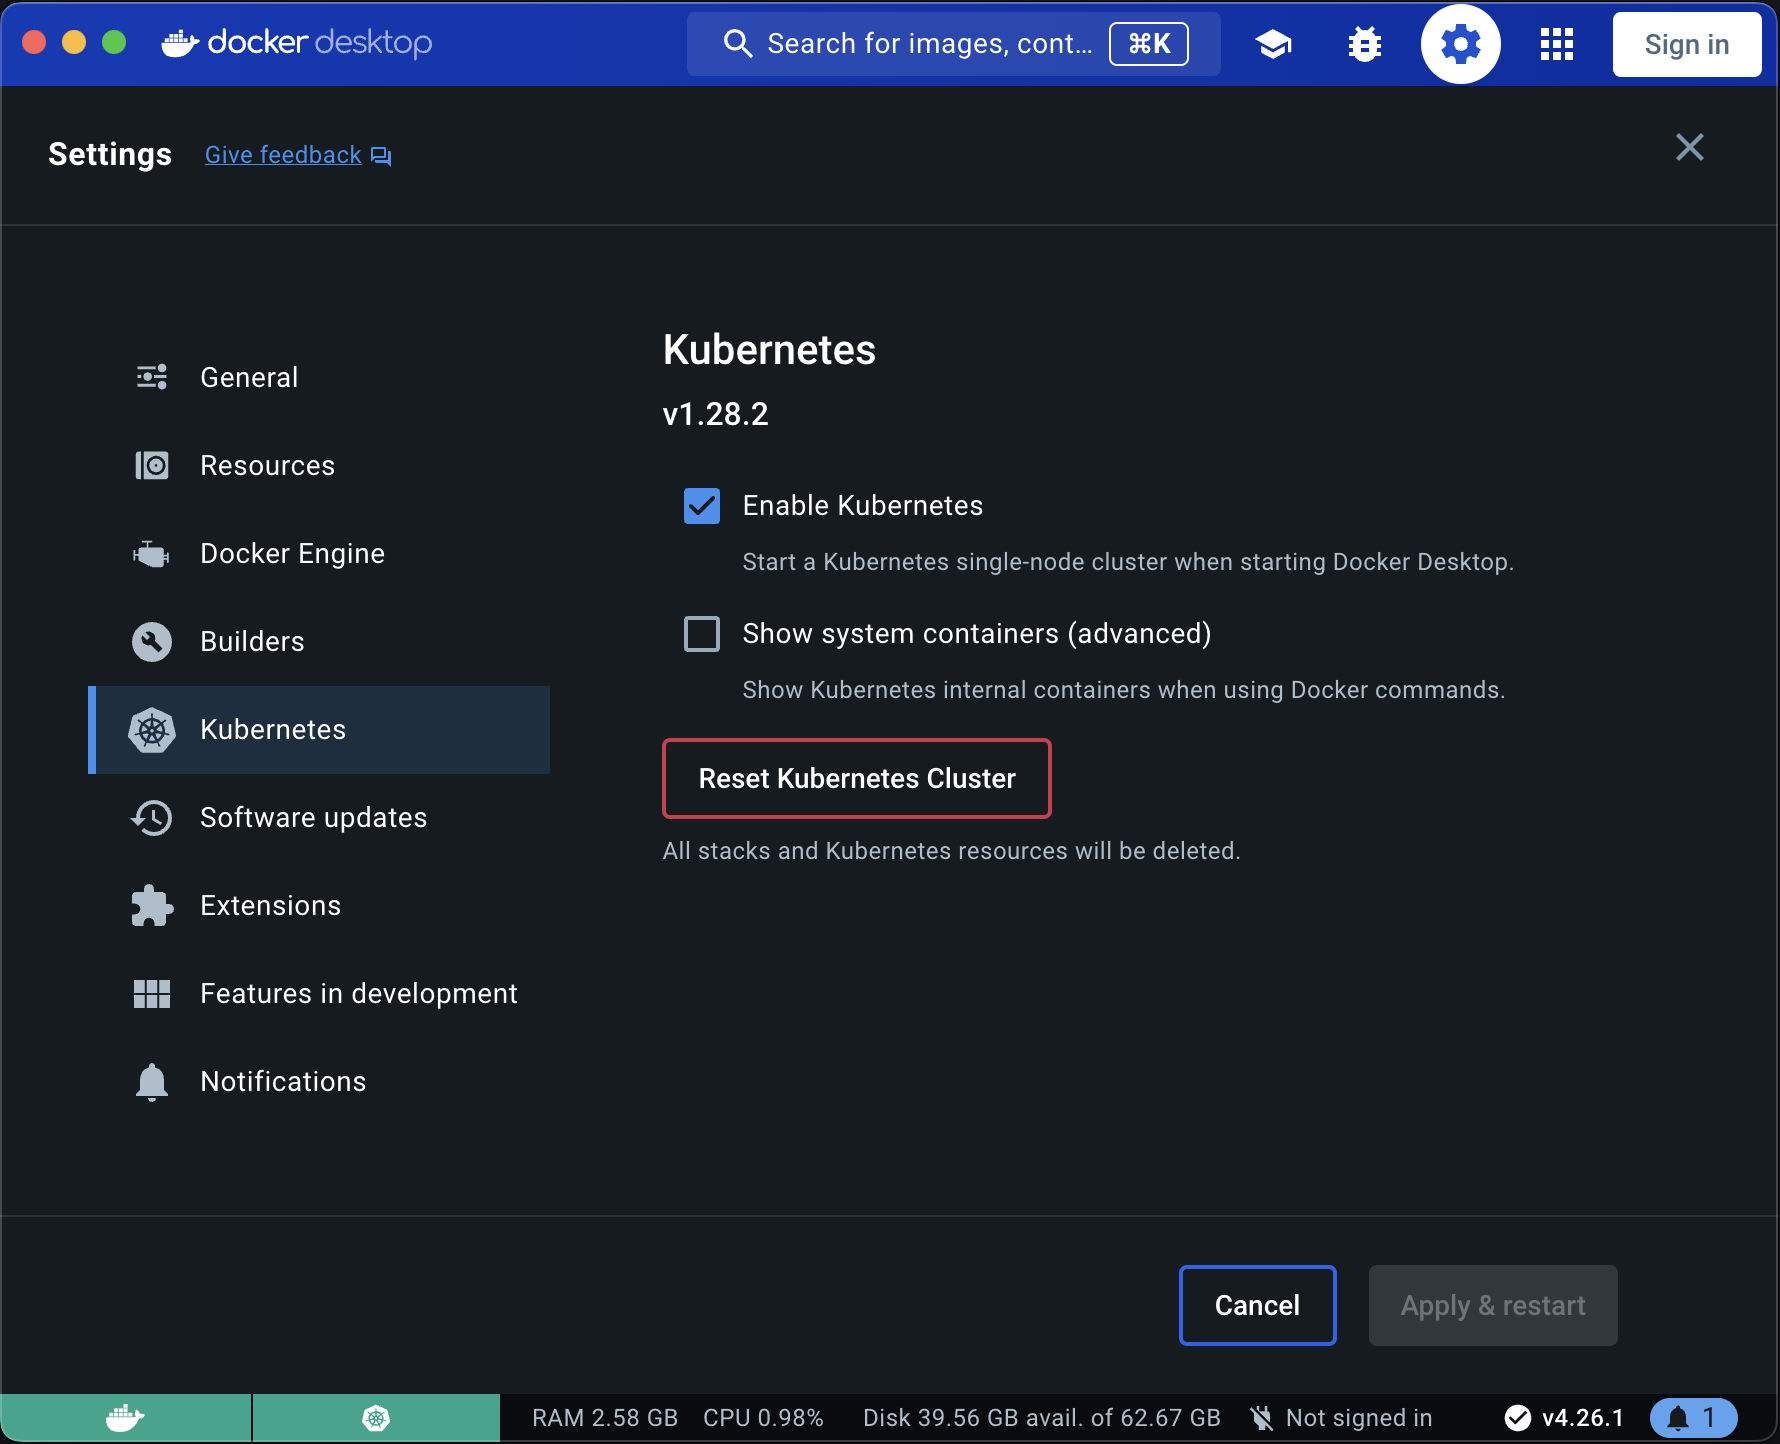
# datalab.my-domain.net *.lab.my-domain.net# First let's make sure we connect to our local Kube cluser
kubectl config use-context docker-desktop
kubectl create namespace ingress-nginx
DOMAIN=my-domain.net
sudo kubectl create secret tls onyxia-tls \
    -n ingress-nginx \
    --key /etc/letsencrypt/live/datalab.$DOMAIN/privkey.pem \
--cert /etc/letsencrypt/live/datalab.$DOMAIN/fullchain.pemcat << EOF > ./ingress-nginx-values.yaml
controller:
extraArgs:
default-ssl-certificate: "ingress-nginx/onyxia-tls"
watchIngressWithoutClass: true
EOF
helm install ingress-nginx ingress-nginx \
--repo https://kubernetes.github.io/ingress-nginx \
--version 4.9.1 \
--namespace ingress-nginx \
-f ./ingress-nginx-values.yaml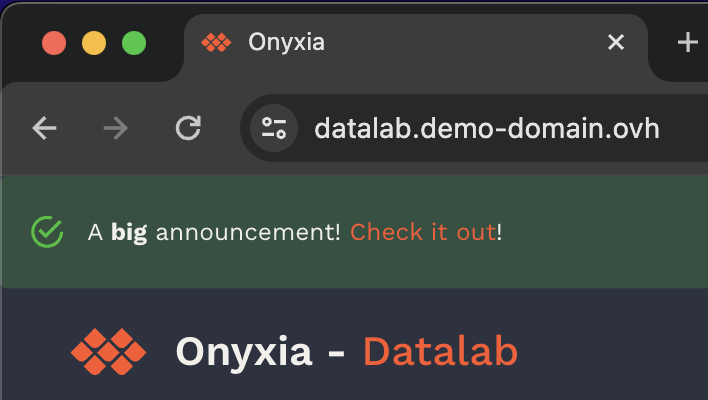
