🏁Install
Your Onyxia instance, today
Oneliner
TLDR. Here is how you can get an Onyxia instance running in a matter of seconds.
helm repo add onyxia https://inseefrlab.github.io/onyxia

cat << EOF > ./onyxia-values.yaml
ingress:
  enabled: true
  hosts:
    - host: datalab.my-domain.net
EOF

helm install onyxia onyxia/onyxia -f onyxia-values.yaml
With this, you will obtain an instance operating in a degraded mode, which lacks features such as authentication, S3 explorer, secret management, etc. However, you will still have the capability to launch services from the catalog.
Step by step installation guide
In this section, we will set up Onyxia from the ground up, along with all the associated technologies. This includes MinIO for S3, Keycloak for OIDC, and Vault for managing secrets.
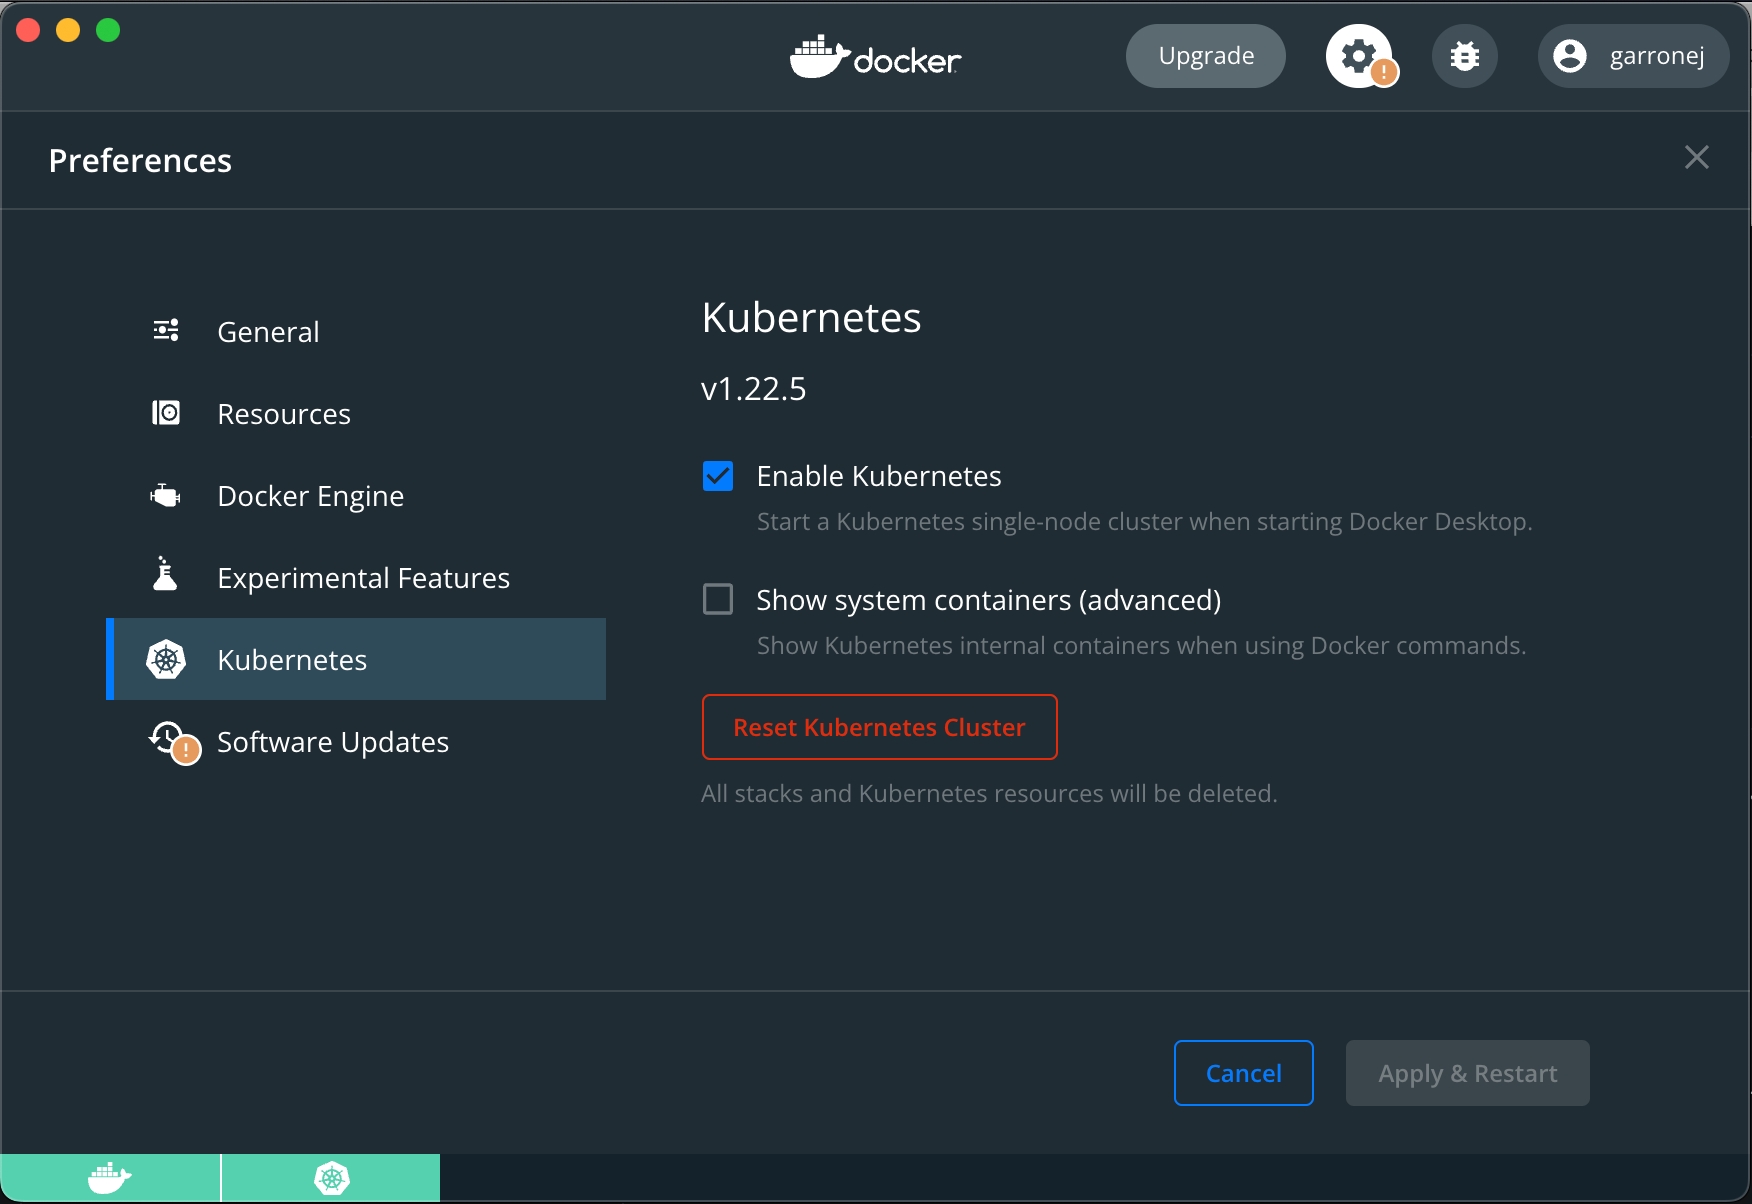
Provision a Kubernetes cluster
First you'll need a Kubernetes cluster. If you have one already you can skip this section.
Hashicorp maintains great tutorials for terraforming Kubernetes clusters on AWS, GCP or Azure.
Pick one of the three and follow the guide.
You can stop after the configure kubectl section.
Ingress controller
Deploy an ingress controller on your cluster:
kubectl apply -f https://raw.githubusercontent.com/kubernetes/ingress-nginx/controller-v1.2.0/deploy/static/provider/aws/deploy.yamlDNS
Let's assume you own the domain name my-domain.net, for the rest of the guide you should replace my-domain.net by a domain you actually own.
Now you need to get the external address of your cluster, run the command
kubectl get services -n ingress-nginxand write down the External IP assigned to the LoadBalancer.
Depending on the cloud provider you are using it can be an IPv4, an IPv6 or a domain. On AWS for example, it will be a domain like xxx.elb.eu-west-1.amazonaws.com.
If you see <pending>, wait a few seconds and try again.
Once you have the address, create the following DNS records:
onyxia.my-domain.net CNAME xxx.elb.eu-west-1.amazonaws.com.
*.lab.my-domain.net  CNAME xxx.elb.eu-west-1.amazonaws.com.
If the address you got was an IPv4 (x.x.x.x), create a A record instead of a CNAME.
If the address you got was ans IPv6 (y:y:y:y:y:y:y:y), create a AAAA record.
https://onyxia.my-domain.net will be the URL for your instance of Onyxia. The URL of the services created by Onyxia are going to look like: https://<something>.lab.my-domain.net
SSL
In this section we will obtain a TLS certificate issued by LetsEncrypt using the certbot commend line tool then get our ingress controller to use it.
If you are already familiar with certbot you're probably used to run it on a remote host via SSH. In this case you are expected to run it on your own machine, we'll use the DNS chalenge instead of the HTTP chalenge.
brew install certbot #On Mac, lookup how to install certbot for your OS

#Because we need a wildcard certificate we have to complete the DNS callange.
sudo certbot certonly --manual --preferred-challenges dns

# When asked for the domains you wish to optains a certificate for enter:
# onyxia.my-domain.net *.lab.my-domain.netNow we want to create a Kubernetes secret containing our newly obtained certificate:
DOMAIN=my-domain.net
sudo kubectl create secret tls onyxia-tls \
    -n ingress-nginx \
    --key /etc/letsencrypt/live/onyxia.$DOMAIN/privkey.pem \
    --cert /etc/letsencrypt/live/onyxia.$DOMAIN/fullchain.pem
Lastly, we want to tell our ingress controller to use this TLS certificate, to do so run:
kubectl edit deployment ingress-nginx-controller -n ingress-nginxThis command will open your configured text editor, go to line 56 and add:
- --default-ssl-certificate=ingress-nginx/onyxia-tls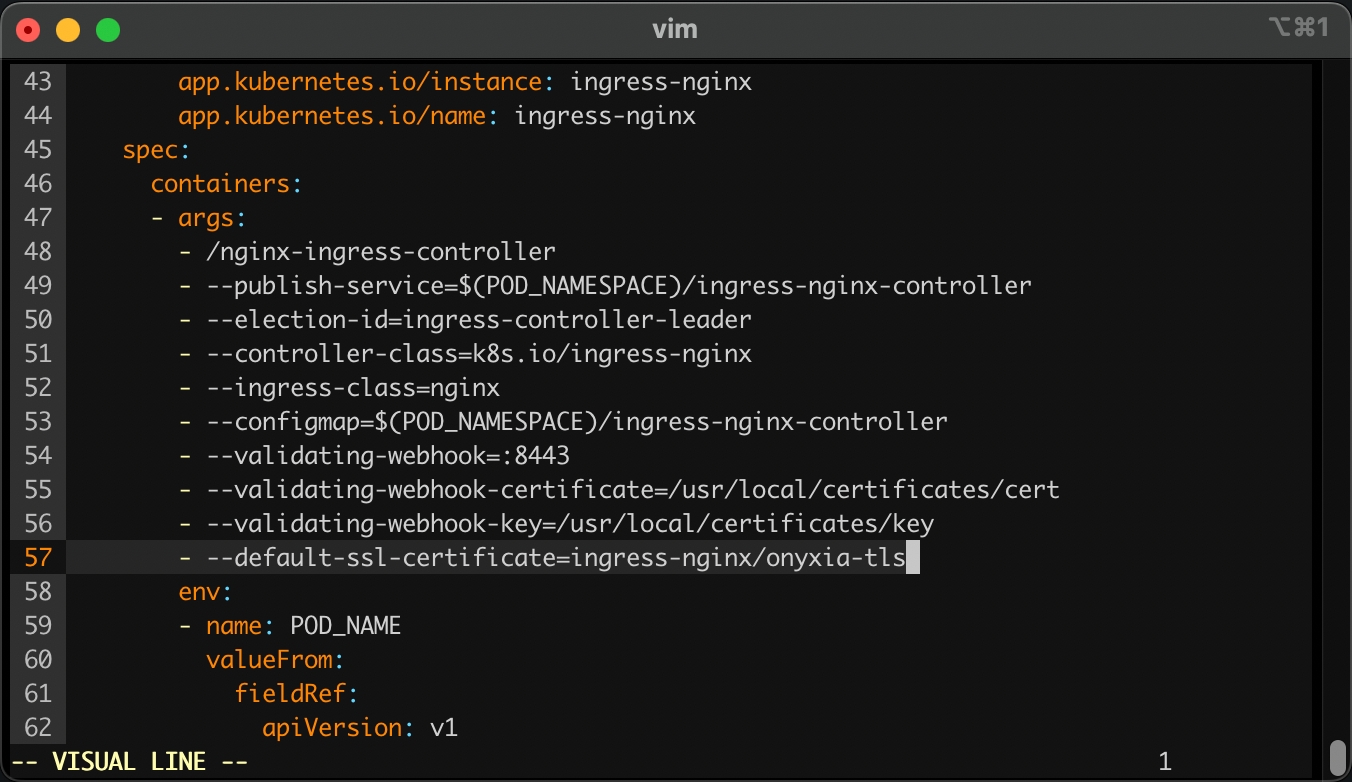
Installing Onyxia using helm
In this section we assume that:
You have a Kubernetes cluster and
kubectlconfiguredonyxia.my-domain.net and *.lab.my-domain.net are pointing to your cluster's external address. my-domain.net being a domain that you own. You can customise "onyxia" and "lab" to your liking, for example you could chose datalab.my-domain.net and *.kub.my-domain.net.
You have an ingress controller configured with a default TLS certificate for *.lab.my-domain.net and onyxia.my-domain.net.
As of today the default service catalog will only work with ingress-nginx.
This will be addressed in the near future.
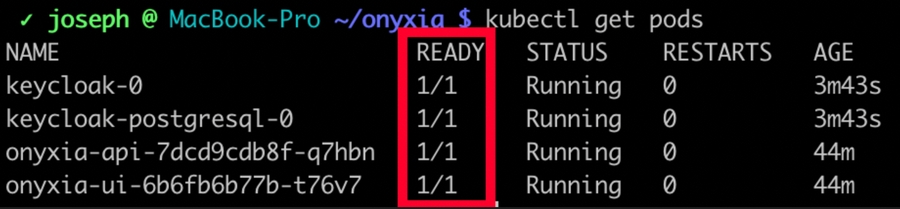
Through out this guide we make as if everything was instantaneous. In reality if you are testing on a small cluster you will need to wait several minutes after hitting helm install for the services to be ready.
Use kubectl get pods to see if your pods are up and ready.
(Optional) Make sure that your cluster is ready for Onyxia
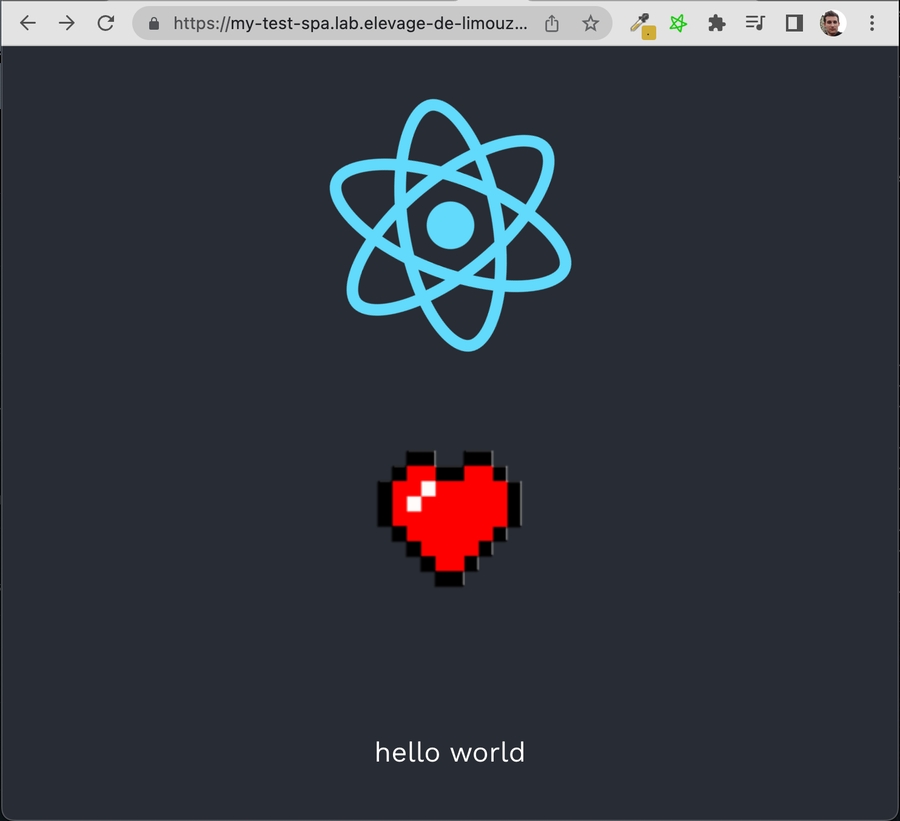
To make sure that your Kubernetes cluster is correctly configured let's deploy a test web app on it before deploying Onyxia.
DOMAIN=my-domain.net

cat << EOF > ./test-spa-values.yaml
ingress:
  enabled: true
  annotations:
    kubernetes.io/ingress.class: nginx
  hosts:
    - host: test-spa.lab.$DOMAIN
EOF

helm repo add etalab https://etalab.github.io/helm-charts
helm install test-spa etalab/keycloakify-demo-app -f test-spa-values.yaml
echo "Navigate to https://test-spa.lab.$DOMAIN, see the Hello World"
helm uninstall test-spahelm repo add onyxia https://inseefrlab.github.io/onyxia
DOMAIN=my-domain.net
cat << EOF > ./onyxia-values.yaml
ingress:
enabled: true
annotations:
kubernetes.io/ingress.class: nginx
hosts:
- host: onyxia.$DOMAIN
api:
regions:
[
{
"id":"demo",
"name":"Demo",
"description":"This is a demo region, feel free to try Onyxia !",
"services":{
"type":"KUBERNETES",
"singleNamespace":true,
"namespacePrefix":"user-",
"usernamePrefix":"oidc-",
"groupNamespacePrefix":"projet-",
"groupPrefix":"oidc-",
"authenticationMode":"serviceAccount",
"expose":{
"domain":"lab.$DOMAIN"
},
"monitoring":{
"URLPattern":"todo"
},
"initScript":"https://inseefrlab.github.io/onyxia/onyxia-init.sh"
}
}
]
EOF
helm install onyxia onyxia/onyxia -f onyxia-values.yamlYou can now access https://onyxia.my-domain.net and start services. Congratulations! 🥳
Enabling user authentication
At the moment there is no authentication process, everyone can access our platform and and start services.
Let's setup Keycloak to enable users to create account and login to our Onyxia.
Note that in this instalation guide we make you use Keycloak but you can use any identity server that is Open ID Connect compliant.
For deploying our Keycloak we use codecentric's helm chart.
helm repo add codecentric https://codecentric.github.io/helm-charts

DOMAIN=my-domain.net
POSTGRESQL_PASSWORD=xxxxx #Replace by a strong password, you will never need it.
# Credentials for logging to https://auth.lab.$DOMAIN/auth
KEYCLOAK_USER=admin
KEYCLOAK_PASSWORD=yyyyyy

cat << EOF > ./keycloak-values.yaml
image:
  # We use the legacy variant of the image until codecentric update it's helm chart
  tag: "19.0.3-legacy"
replicas: 1
extraInitContainers: |
  - name: realm-ext-provider
    image: curlimages/curl
    imagePullPolicy: IfNotPresent
    command:
      - sh
    args:
      - -c
      - |
        # There is a custom theme published alongside every onyxia-web release
        # The version of the Keycloak theme and the version of onyxia-web don't need
        # to match but you should update the theme from time to time.
        # https://github.com/InseeFrLab/onyxia-web/releases
        curl -L -f -S -o /extensions/onyxia.jar https://github.com/InseeFrLab/onyxia-web/releases/download/v2.29.4
/keycloak-theme.jar
    volumeMounts:
      - name: extensions
        mountPath: /extensions
extraVolumeMounts: |
  - name: extensions
    mountPath: /opt/jboss/keycloak/standalone/deployments
extraVolumes: |
  - name: extensions
    emptyDir: {}
extraEnv: |
  - name: ONYXIA_RESOURCES_ALLOWED_ORIGINS
    value: "https://onyxia.$DOMAIN, http://localhost, http://127.0.0.1"
# The following values are transported automatically from your
# Onyxia instance over to the login pages via url parameters, however,
# if you want to prevent thoses value from being potentially
# hijacked by a third party you can hard code them here.
# - name: ONYXIA_HEADER_TEXT_BOLD
#   value: "My organization"
# - name: ONYXIA_HEADER_TEXT_FOCUS
#   value: "Datalab"
# - name: ONYXIA_PALETTE_OVERRIDE
#   value: "{}"
# - name: ONYXIA_TAB_TITLE
#   value: "Onyxia"
  - name: KEYCLOAK_USER
    value: $KEYCLOAK_USER
  - name: KEYCLOAK_PASSWORD
    value: $KEYCLOAK_PASSWORD
  - name: JGROUPS_DISCOVERY_PROTOCOL
    value: kubernetes.KUBE_PING
  - name: KUBERNETES_NAMESPACE
    valueFrom:
     fieldRef:
       apiVersion: v1
       fieldPath: metadata.namespace
  - name: KEYCLOAK_STATISTICS
    value: "true"
  - name: CACHE_OWNERS_COUNT
    value: "2"
  - name: CACHE_OWNERS_AUTH_SESSIONS_COUNT
    value: "2"
  - name: PROXY_ADDRESS_FORWARDING
    value: "true"
  - name: JAVA_OPTS
    value: >-
      -Dkeycloak.profile=preview -XX:+UseContainerSupport -XX:MaxRAMPercentage=50.0 -Djava.net.preferIPv4Stack=true -Djava.awt.headless=true
ingress:
  enabled: true
  servicePort: http
  annotations:
    kubernetes.io/ingress.class: nginx
    ## Resolve HTTP 502 error using ingress-nginx:
    ## See https://www.ibm.com/support/pages/502-error-ingress-keycloak-response
    nginx.ingress.kubernetes.io/proxy-buffer-size: 128k
  rules:
    - host: "auth.lab.$DOMAIN"
      paths:
        - path: /
          pathType: Prefix
  tls:
    - hosts:
        - auth.lab.$DOMAIN
postgresql:
  postgresqlPassword: $POSTGRESQL_PASSWORD
EOF

helm install keycloak codecentric/keycloak -f keycloak-values.yaml
You can now login to the administration console of https://auth.lab.my-domain.net and login using the credentials you have defined with KEYCLOAK_USER and KEYCLOAK_PASSWORD.
Create a realm called "datalab" (or something else), go to Realm settings
On the tab General
User Profile Enabled: On
On the tab login
User registration: On
Forgot password: On
Remember me: On
On the tab email, we give an example with **** AWS SES, if you don't have a SMTP server at hand you can skip this by going to Authentication (on the left panel) -> Tab Required Actions -> Uncheck "set as default action" Verify Email. Be aware that with email verification disable, anyone will be able to sign up to your service.
From: [email protected]
Host: email-smtp.us-east-2.amazonaws.com
Port: 465
Authentication: enabled
Username: **************
Password: ***************************************
When clicking "save" you'll be asked for a test email, you have to provide one that correspond to a pre-existing user or you will get a silent error and the credentials won't be saved.
On the tab Themes
Login theme: onyxia-web (you can also select the login theme on a per client basis)
Email theme: onyxia-web
On the tab Localization
Internationalization: Enabled
Supported locales: <Select the languages you wish to support>
On the tab Token
SSO Session Idle: 14 days - This setting and the following two are so that when the user click "remember me" when he logs in, he dosen't have to loggin again for the next two weeks.
SSO Session Idle Remember Me: 14 days
SSO Session Max Remember Me: 14 days
Create a client called "onyxia"
Root URL: https://onyxia.my-domain.net/
Valid redirect URIs: https://onyxia.my-domain.net/*
Web origins: *
Login theme: onyxia-web
In Authentication (on the left panel) -> Tab Required Actions enable and set as default action Therms and Conditions.
Now you want to ensure that the username chosen by your users complies with Onyxia requirement (only alphanumerical characters) and define a list of email domain allowed to register to your service.
Go to Realm Settings (on the left panel) -> Tab User Profile (this tab shows up only if User Profile is enabled in the General tab and you can enable user profile only if you have started Keycloak with -Dkeycloak.profile=preview) -> JSON Editor.
Now you can edit the file as suggested in the following DIFF snippet. Be mindful that in this example we only allow emails @gmail.com and @hotmail.com to register you want to edit that.
{
  "attributes": [
    {
      "name": "username",
      "displayName": "${username}",
      "validations": {
        "length": {
          "min": 3,
          "max": 255
        },
+       "pattern": {
+         "error-message": "${alphanumericalCharsOnly}",
+         "pattern": "^[a-zA-Z0-9]*$"
+       },
        "username-prohibited-characters": {}
      }
    },
    {
      "name": "email",
      "displayName": "${email}",
      "validations": {
        "email": {},
+       "pattern": {
+         "pattern": "^[^@]+@([^.]+\\.)*((gmail\\.com)|(hotmail\\.com))$"
+       },
        "length": {
          "max": 255
        }
      }
    },
    {
      "name": "firstName",
      "displayName": "${firstName}",
      "required": {
        "roles": [
          "user"
        ]
      },
      "permissions": {
        "view": [
          "admin",
          "user"
        ],
        "edit": [
          "admin",
          "user"
        ]
      },
      "validations": {
        "length": {
          "max": 255
        },
        "person-name-prohibited-characters": {}
      }
    },
    {
      "name": "lastName",
      "displayName": "${lastName}",
      "required": {
        "roles": [
          "user"
        ]
      },
      "permissions": {
        "view": [
          "admin",
          "user"
        ],
        "edit": [
          "admin",
          "user"
        ]
      },
      "validations": {
        "length": {
          "max": 255
        },
        "person-name-prohibited-characters": {}
      }
    }
  ]
}
Now our Keycloak server is fully configured we just need to update our Onyxia deployment to let it know about it.
Update the onyxia-values.yaml file that you created previously, don't forget to replace all the occurence of my-domain.net by your actual domain.
Don't forget as well to remplace the terms of services of the sspcloud by your own terms of services. CORS should be enabled on those .md links (Access-Control-Allow-Origin: *).
+serviceAccount:
+  clusterAdmin: true
 ingress:
   enabled: true
   annotations:
     kubernetes.io/ingress.class: nginx
   hosts:
     - host: onyxia.my-domain.net
 web:
+  env:
+    TERMS_OF_SERVICES: |
+      {
+        "en": "https://www.sspcloud.fr/tos_en.md",
+        "fr": "https://www.sspcloud.fr/tos_fr.md"
+      }
 api:
   env:
+    authentication.mode: openidconnect
+    oidc.issuer-uri: "https://auth.lab.my-domain.net/auth/realms/datalab"
+    oidc.clientID: "onyxia"
+    oidc.audience: "onyxia"
   regions:
     [
        {
           "id":"demo",
           "name":"Demo",
           "description":"This is a demo region, feel free to try Onyxia !",
           "services":{
              "type":"KUBERNETES",
-             "singleNamespace": true,
+             "singleNamespace": false,
              "namespacePrefix":"user-",
              "usernamePrefix":"oidc-",
              "groupNamespacePrefix":"projet-",
              "groupPrefix":"oidc-",
              "authenticationMode":"serviceAccount",
              "expose":{
                 "domain":"lab.my-domain.net"
              },
              "monitoring":{
                 "URLPattern":"todo"
              },
              "initScript":"https://inseefrlab.github.io/onyxia/onyxia-init.sh"
           }
        }
     ]
Now that you have updated onyxia-values.yaml restart onyxia-web with the new configuration.
helm upgrade onyxia inseefrlab/onyxia -f onyxia-values.yamlNow your users should be able to create account, log-in, and start services on their own Kubernetes namespace.
S3 Storage
Onyxia-web use AWS Security Token Service API to get token and empowered user with storage features. We support any S3 storage compatible with this API. In this context, we are using MinIO, which is compatible with the Amazon S3 storage service and we demonstrate how to integrate it with Keycloak.
Create a Keycloak client for Accessing Keycloak
Before configuring MinIO, let's create a new client for Keycloak (from the previous existing "datalab" realm).
Create a client called "minio".
Client ID: minio
Client Protocol: openid-connect
Root URL: https://minio.lab.my-domain.net/
Complete the content of client "minio" with the following values.
Access Type: confidential
Valid Redirect URIs (two values are required): https://minio.lab.my-domain.net/* and https://minio-console.lab.my-domain.net/*
Web origins: *
Save the content, a new tab called Credentials must be appear. Navigate to Credentials tab and copy the secret value for the next section (KEYCLOAK_MINIO_CLIENT_SECRET).
Navigate to Mappers tab and create a protocol Mapper.
Name: policy
Mapper Type: Hardcoded claim
Complete the content of Mapper "policy" with the following values.
Token Claim Name: policy
Claim value: stsonly
Add to ID token: on
Add to access token: on
Add to userinfo: on
Install MinIO
We recommand you to follow MinIO documentation for this installation and you must activate OIDC authentification. We will use the official Helm in this tutorial. All Helm configuration values can be found within this link.
helm repo add minio https://charts.min.io/

DOMAIN=my-domain.net
# Replace xxxxx by the secret value defined
# into the "minio" Keycloak client (see previous section)
KEYCLOAK_MINIO_CLIENT_SECRET=xxxxxxxx

cat << EOF > ./minio-values.yaml
## replicas: 16
ingress:
  enabled: true
  annotations:
    kubernetes.io/ingress.class: nginx
  path: /
  hosts:
    - minio.lab.$DOMAIN
  tls:
    - hosts:
        - minio.lab.$DOMAIN
consoleIngress:
  enabled: true
  annotations:
    kubernetes.io/ingress.class: nginx
  paths: /
  hosts:
    - minio-console.lab.$DOMAIN
  tls:
    - hosts:
        - minio-console.lab.$DOMAIN
environment:
  MINIO_BROWSER_REDIRECT_URL: https://minio-console.lab.$DOMAIN
oidc:
  enabled: true
  configUrl: "https://auth.lab.$DOMAIN/auth/realms/datalab/.well-known/openid-configuration"
  clientId: "minio"
  claimName: "policy"
  scopes: "openid,profile,email"
  redirectUri: "https://minio-console.lab.$DOMAIN/oauth_callback"
  claimPrefix: ""
  comment: ""
  clientSecret: KEYCLOAK_MINIO_CLIENT_SECRET
policies:
  - name: stsonly
    statements:
      - resources:
          - 'arn:aws:s3:::oidc-${jwt:preferred_username}'
          - 'arn:aws:s3:::oidc-${jwt:preferred_username}/*'
        actions:
          - "s3:*"
EOF

helm install minio minio/minio -f minio-values.yaml
MinIO is now deployed and is accessible on the console url.
By default, there are 16 MinIO containers running. If this number is too large for your Kubernetes cluster, you can limit it by configuring the 'replicas' key.
Create a Keycloak Client for Onyxia/MinIO
Before configuring the onyxia region to create tokens we should go back to Keycloak and create a new client to enable onyxia-web to request token for MinIO. This client is a little bit more complexe than other if you want to manage durations (here 7 days) and this client should have a claim name policy and with a value of stsonly according to our last deployment of MinIO.
From "datalab" realm, create a client called "onyxia-minio"
Client ID: onyxia-minio
Client Protocol: openid-connect
Root URL: https://onyxia.my-domain.net/
Complete the content of client "onyxia-minio" with the following values.
Access Type: public
Valid Redirect URIs: https://onyxia.my-domain.net/*
Web origins: *
Advanced Settings 1. Access Token Lifespan : 7 days 2. Client Session Idle : 7 days 3. Client Session Max: 7 days
Save the content and navigate to Mappers tab and create two protocol Mappers.
Create the first Mapper called "policy".
Token Name: policy
Mapper Type: Hardcoded claim
Token Claim Name: policy
Claim value: stsonly
Add to ID token: on
Add to access token: on
Add to userinfo: on
Create the second Mapper called "audience-minio".
Token Name: audience-minio
Mapper Type: Audience
_Included Custom Audience _: minio
Add to ID token: on
Add to access token: on
Update Onyxia
S3 storage is configured inside a region in Onyxia api. You have some options to configure this storage and inform Onyxia web all needed informations about how to generate those tokens : keycloak parameters to access storage API, duration of STS tokens, bucket name with a standard prefix and a claim in the user JWT token to generate a unique identifiant for this bucket name, whether Onyxia-web should try to to create this bucket silently or not. There is also options for projects. You should look all options for the version of your need on github
serviceAccount:
  clusterAdmin: true
 ingress:
   enabled: true
   annotations:
     kubernetes.io/ingress.class: nginx
   hosts:
     - host: onyxia.my-domain.net
 web:
  env:
    KEYCLOAK_REALM: datalab
    KEYCLOAK_URL: https://auth.lab.my-domain.net/auth
    TERMS_OF_SERVICES: |
      { "en": "https://www.sspcloud.fr/tos_en.md", "fr": "https://www.sspcloud.fr/tos_fr.md" }
 api:
   env:
    authentication.mode: openidconnect
    keycloak.realm: datalab
    keycloak.auth-server-url: https://auth.lab.my-domain.net/auth
   regions:
     [
        {
           "id":"demo",
           "name":"Demo",
           "description":"This is a demo region, feel free to try Onyxia !",
           "services":{
              "type":"KUBERNETES",
              "singleNamespace": false,
              "namespacePrefix":"user-",
              "usernamePrefix":"oidc-",
              "groupNamespacePrefix":"projet-",
              "groupPrefix":"oidc-",
              "authenticationMode":"admin",
              "expose":{
                 "domain":"lab.my-domain.net"
              },
              "monitoring":{
                 "URLPattern":"todo"
              },
              "cloudshell":{
                 "catalogId":"inseefrlab-helm-charts-datascience",
                 "packageName":"cloudshell"
              },
              "initScript":"https://inseefrlab.github.io/onyxia/onyxia-init.sh"
           },
           "data":{
              "S3":{
-                "URL":"todo",
+                "type": "minio",
+                "URL": "https://minio.lab.my-domain.net",
+                "region": "us-east-1",
+                "bucketPrefix": "oidc-",
+                "groupBucketPrefix": "projet-",
+                "bucketClaim": "preferred_username",
+                "defaultDurationSeconds": 86400,
+                "keycloakParams":
+                {
+                      "URL": "https://auth.lab.my-domain.net/auth",
+                      "realm": "datalab",
+                      "clientId": "onyxia-minio",
+                },
+                "acceptBucketCreation": true,
                 "monitoring":{
                    "URLPattern":"minio"
                 }
              }
           },
           "auth":{
              "type":"openidconnect"
           },
           "location":{
              "lat":48.8164,
              "long":2.3174,
              "name":"Montrouge (France)"
           }
        }
]helm upgrade onyxia inseefrlab/onyxia -f onyxia-values.yamlVault
Onyxia-web use vault as a storage for two kinds of secrets : 1. secrets or information generate by Onyxia to store differents values (ui preferences for example) 2. user secrets Vault must be configured with JWT or OIDC authentification methods.
As vault need to be initialized with a master key, It can't be directly configured with all parameters such as oidc or access policies and roles. So first step we create a vault with dev mode (do not use this in production and do your initialization with any of the recommanded configuration : shamir, gcp, another vault)
helm repo add hashicorp https://helm.releases.hashicorp.com

DOMAIN=my-domain.net

cat << EOF > ./vault-values.yaml
server:
  dev:
    enabled: true
    # Set VAULT_DEV_ROOT_TOKEN_ID value
    devRootToken: "root"
  ingress:
    enabled: true
    annotations:
      kubernetes.io/ingress.class: nginx
    hosts:
      - host: "vault.lab.$DOMAIN"
    tls:
      - hosts:
          - vault.lab.$DOMAIN
EOF

helm install vault hashicorp/vault -f vault-values.yaml
Create a client called "vault"
Root URL: https://vault.lab.my-domain.net/
Valid redirect URIs: https://vault.lab.my-domain.net/*
Web origins: *
Last updated
Was this helpful?