GitOps

Let's install ArgoCD to manage and monitor our Onyxia Datalab deployment!

At this stage of this installation process we assumes that:

  • You have a Kubernetes cluster and kubectl configured

  • datalab.my-domain.net and *.lab.my-domain.net's DNS are pointing to your cluster's external address. my-domain.net being a domain that you own.

  • Your ingress-nginx is set up with a default TLS certificate that covers both datalab.my-domain.net and *.lab.my-domain.net, processing all ingress objects, .

We can proceed with manually installing various services via Helm to set up the datalab. However, it's more convenient and reproducible to maintain a Git repository that outlines the required services that we need for our datalab, allowing ArgoCD to handle the deployment for us.

To clarify, using ArgoCD is merely an approach that we recommend, but it is by no means a requirement. Feel free to manually helm install the different services using the values.yaml from InseeFrLab/onyxia-ops!

Let's install ArgoCD on the our cluster.

DOMAIN=my-domain.net

cat << EOF > ./argocd-values.yaml
server:
  extraArgs:
    - --insecure
  ingress:
    #ingressClassName: nginx
    enabled: true
    hostname: argocd.lab.$DOMAIN
    extraTls:
      - hosts:
          - argocd.lab.$DOMAIN
EOF

helm install argocd argo-cd \
  --repo https://argoproj.github.io/argo-helm \
  --version 6.0.9 \
  -f ./argocd-values.yaml
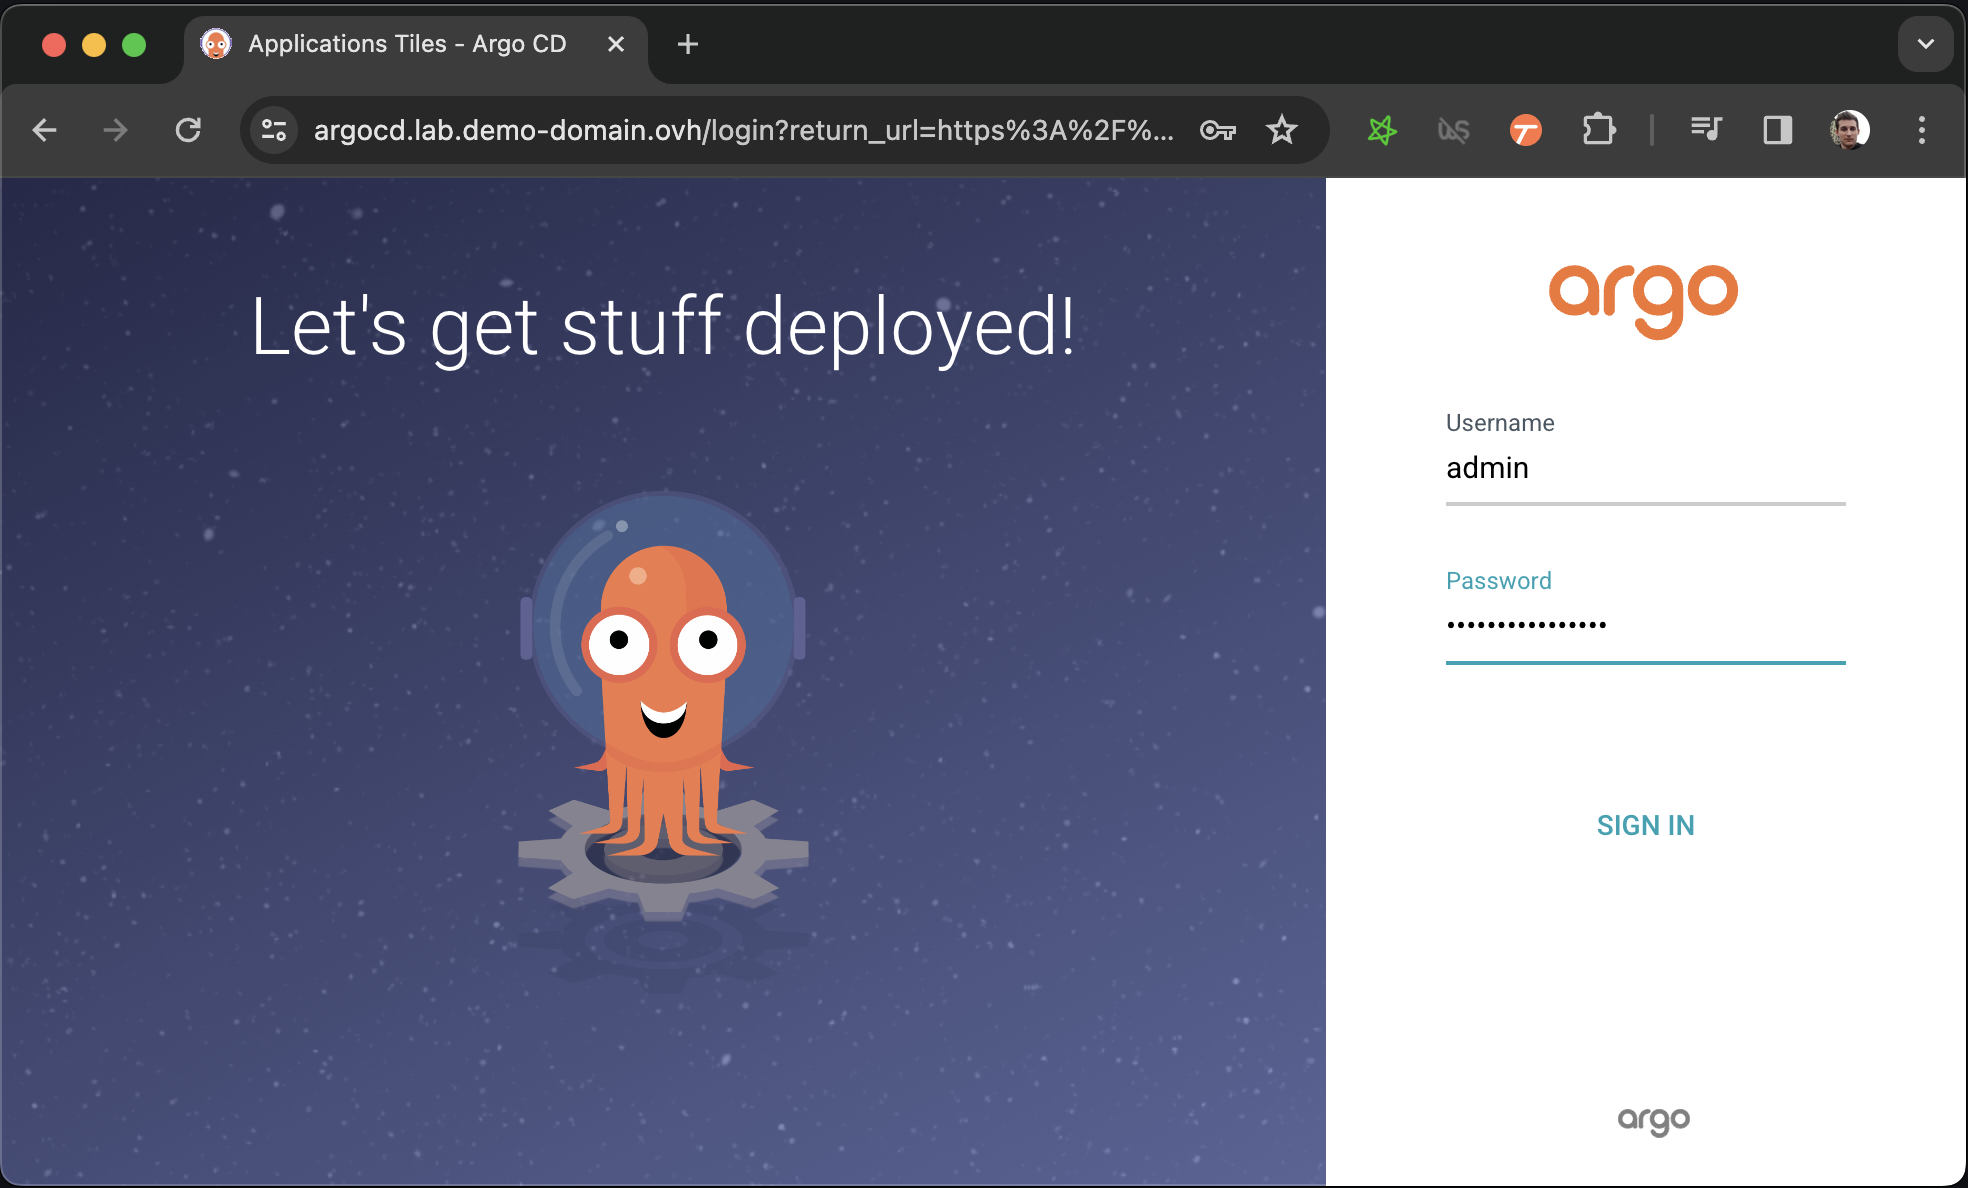
Now you have to get the password that have been automatically generated to protect ArgoCD's admin console. Allow some time for ArgoCD to strart, you can follow the progress by running kubectl get pods and making sure that all pod are ready 1/1. After that running this command will print the password:

kubectl get secret argocd-initial-admin-secret \
  -o jsonpath="{.data.password}" | base64 -d

You can now login to https://argocd.lab.my-domain.net using:

  • username: admin

  • password: <the output of the previous command (without the % at the end)>

Now that we have an ArgoCD we want to connect it to a Git repository that will describe what services we want to be running on our cluster.

Let's fork the onyxia-ops GitHub repo and use it to deploy an Onyxia instance!

Note that in this guide, we use GitHub, but feel free to fork the InseeFrLab/onyxia-ops repository on GitLab or any other forge. You'll need to slightly adapt the instructions, but you should be able to follow along!

At this point you should have a very bare bone Onyxia instance that you can use to launch services.

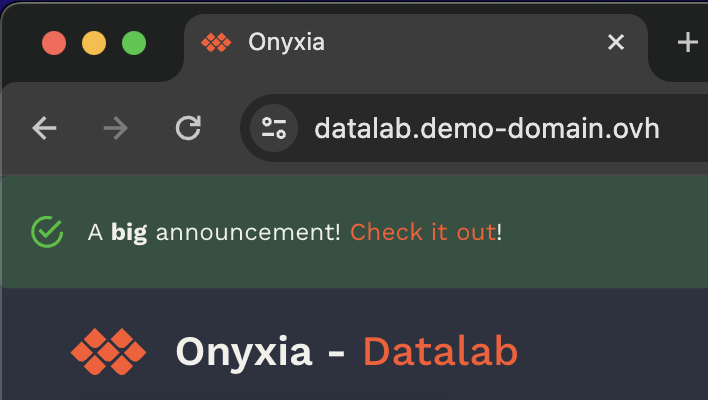
What's great, is that now, if you want to update the configuration of your Onyxia instance you only have to commit the change to your GitOps repo, ArgoCD will takes charge of restarting the service for you with the new configuration. To put that to the test try to modify your Onyxia configuration by setting up a global alert that will be shown as a banner to all users!

apps/onyxia/values.yaml
 onyxia:
   ingress:
     enabled: true
     hosts:
       - host: datalab.demo-domain.ovh
   web:
     env:
+      GLOBAL_ALERT: |
+       {
+         severity: "success",
+         message: {
+           en: "A **big** announcement! [Check it out](https://example.com)!",
+           fr: "Une annonce **importante**! [Regardez](https://example.com)!"
+         }
+       }
   api:
     regions: [...]

After a few seconds, if you reload https://datalab.my-domain.net you should see the message!

Next step is to see how to enable your user to authenticate themselvs to your datalab!

User authentication