User authentication
Using Keycloak to enable user authentication
Let's setup Keycloak to enable users to create account and login to our Onyxia instance.
Note that in this installation guide we make you use Keycloak but you can use any OIDC compliant provider like Entra ID or Auth0. See the following gide for specific instructions for different provider and detailed authentication related configuration options.
OpenID Connect ConfigurationDeploying Keycloak
We're going to install Keycloak just like we installed Onyxia.
Before anything open apps/keycloak/values.yaml in your onyxia-ops repo and change the passwords. Also write down the keycloak.auth.adminPassword, you'll need it to connect to the Keycloak console.
Try to remember, when you update Onyxia in apps/onyxia/Chart.yaml to also update the Onyxia theme in apps/keycloak/values.yaml.
Configuring Keycloak
You can now login to the administration console of https://auth.lab.my-domain.net/auth/ and login using username: keycloak and password: <the one you've wrote down earlier>.
Create a realm called "datalab" (or something else), go to Realm settings
On the tab General
User Profile Enabled: On
On the tab login
User registration: On
Forgot password: On
Remember me: On
On the tab email, we give an example with AWS SES, if you don't have a SMTP server at hand you can skip this by going to Authentication (on the left panel) -> Tab Required Actions -> Uncheck "set as default action" Verify Email. Be aware that with email verification disable, anyone will be able to sign up to your service.
From: [email protected]
Host: email-smtp.us-east-2.amazonaws.com
Port: 465
Authentication: enabled
Username: **************
Password: ***************************************
When clicking "save" you'll be asked for a test email, you have to provide one that correspond to a pre-existing user or you will get a silent error and the credentials won't be saved.
On the tab Themes
Login theme: onyxia-web (you can also select the login theme on a per client basis)
Email theme: onyxia-web
On the tab Localization
Internationalization: Enabled
Supported locales: <Select the languages you wish to support>
On the tab Session.
Users without "Remember Me" will need to log in every 2 weeks:
Set Session idle timeout:
14 days.Set Session max idle timeout:
14 days.
Users who checked "Remember Me" should stay logged in for 1 year:
Set Session idle timeout (Remember Me):
365 days.Set Session max idle timeout (Remember Me):
365 days.
Create a client with client ID "onyxia"
Root URL: https://datalab.my-domain.net/
Valid redirect URIs: https://datalab.my-domain.net/
Login theme: onyxia-web
In Authentication (on the left panel) -> Tab Required Actions enable and set as default action Therms and Conditions.
Now you want to ensure that the username chosen by your users complies with Onyxia requirement (only alphanumerical characters) and define a list of email domain allowed to register to your service.
Go to Realm Settings (on the left panel) -> Tab User Profile -> JSON Editor.
Now you can edit the file as suggested in the following DIFF snippet. Be mindful that in this example we only allow emails @gmail.com and @hotmail.com to register you want to edit that.
Now our Keycloak server is fully configured we just need to update our Onyxia deployment to let it know about it.
Updating the Onyxia configuration
In your GitOps repo you now want to update your onyxia configuration.
Here is the DIFF of the onyxia configuration:
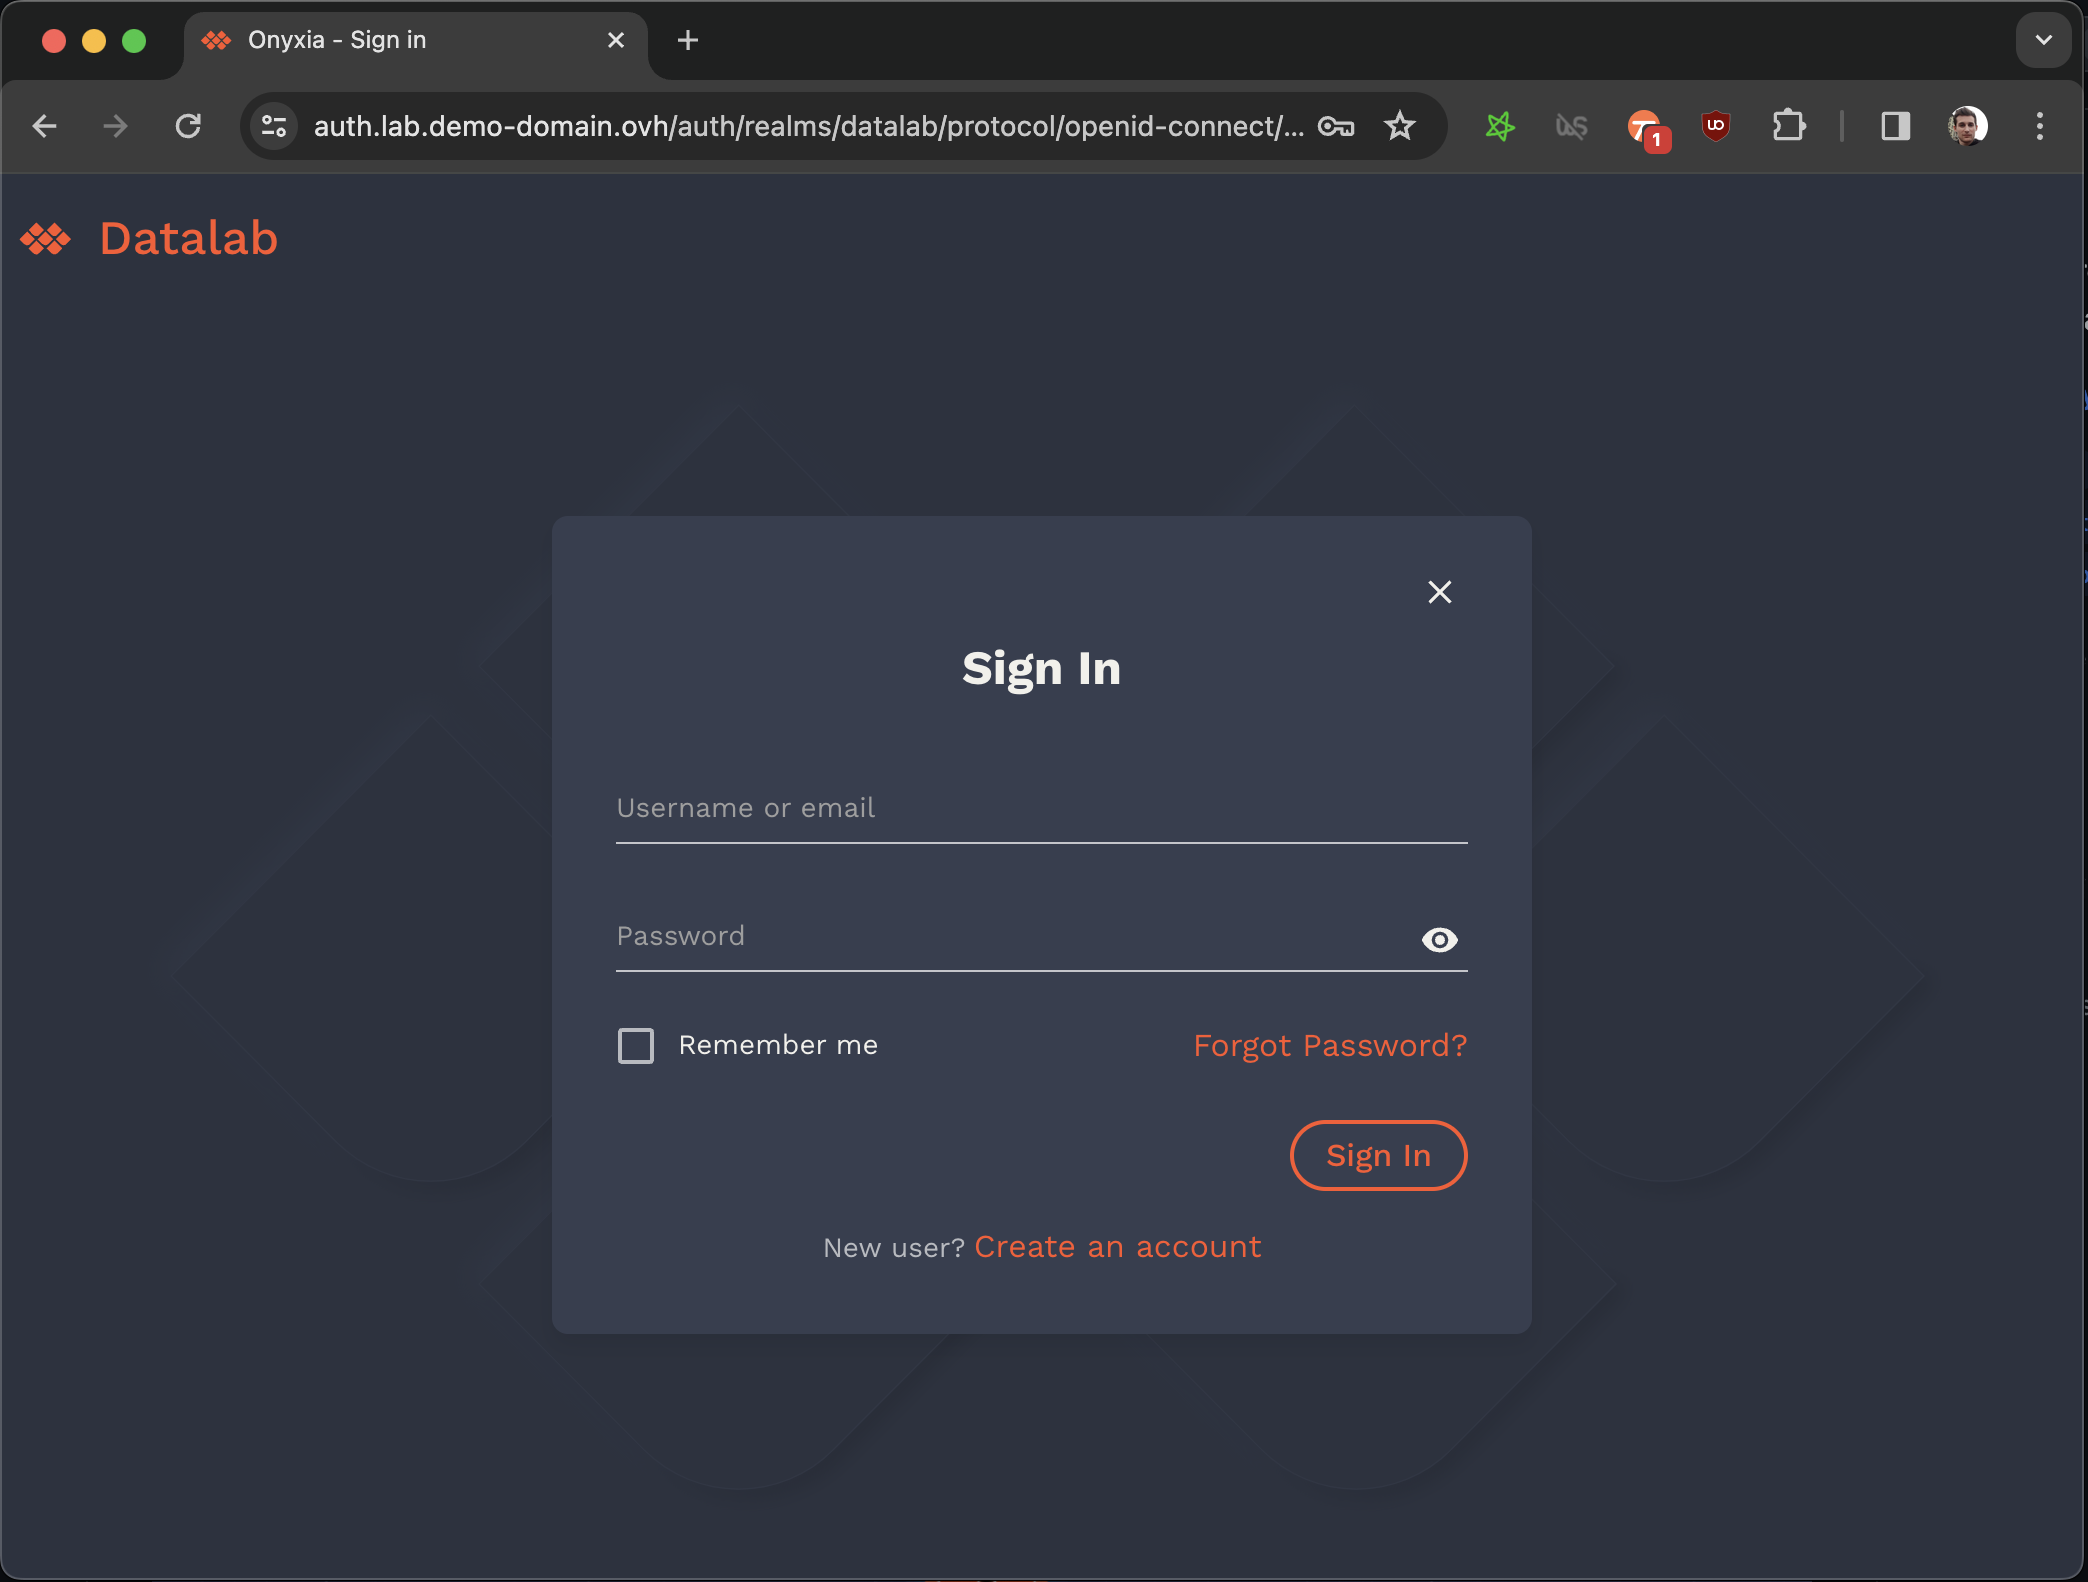
Now your users should be able to create account, log-in, and start services on their own Kubernetes namespace.

Next step in the installation proccess it to enable all the S3 related features of Onyxia:
Data (S3)Last updated
Was this helpful?